Blog
October 27th, 2009
Now that we live in a vacation destination, we tend to get a lot of out-of-town visitors. We have a list of favorite places to take first-timers, so we can often be found at places like the Pike Place Market, Point Defiance, and Mt. Rainier with house guests in tow. When a pair of French foodies arrive on your doorstep, however, it’s a whole ‘nother ballgame. Our friends Gilles and Jean-Philippe had just one major request for their visit last weekend: mushroom hunting. Since it’s chanterelle season and the weather was good, Saturday seemed like a good day to lace up our hiking boots and grab our pocket knives.
Disclaimer! The Tailor and I are not experienced mushroom gatherers, so we’d never try this on our own—incorrectly identifying edible fungi is not a mistake one wants to make. Even the most detailed books can’t replace the presence of a skilled guide, so if you don’t have your own French mycophile on hand to take you hunting, skip the risk and buy a bag of chanterelles at the farmers market!
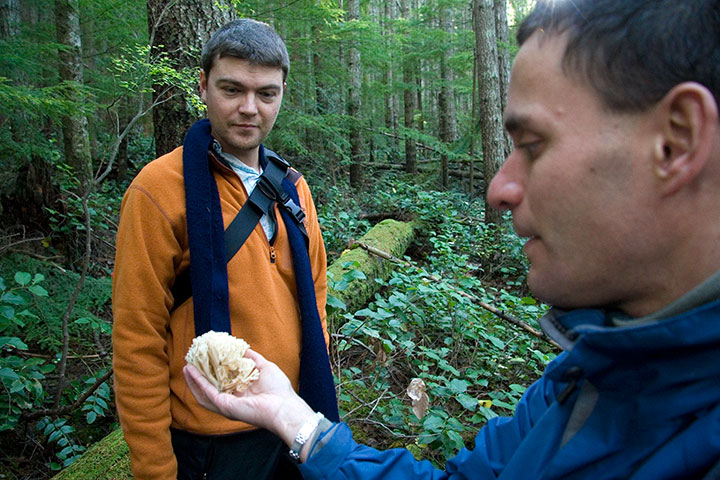
As far as dinner ingredients go, we came away empty-handed—the conditions just weren’t right. But as a crash course in the sheer diversity of local fungi, it was a spectacular day; we found several dozen different varieties ranging from beautiful to bizarre; delicate to disgusting.
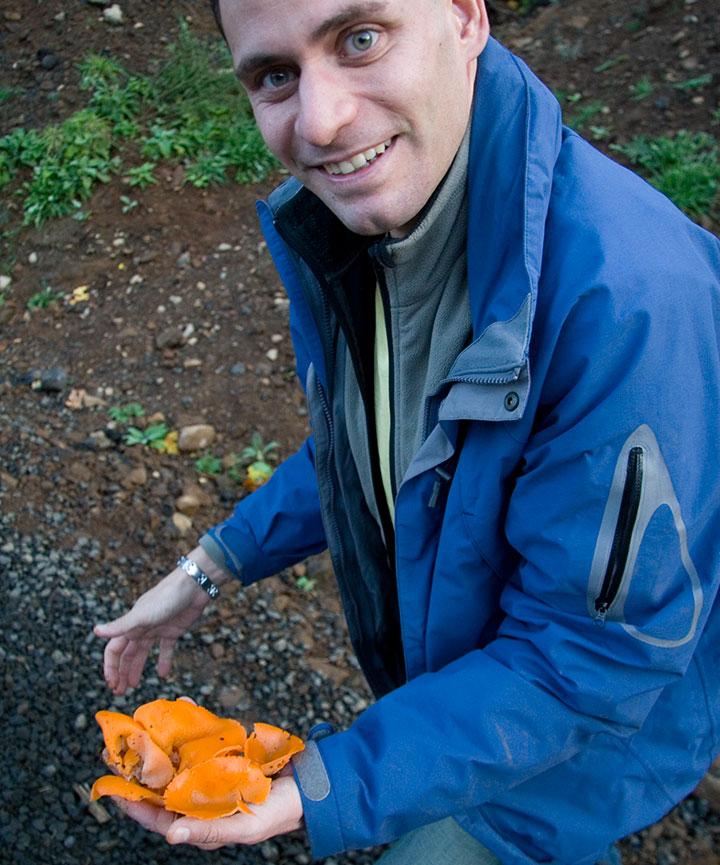
We did find a few edible species (these orange peel cups were a beautiful and exciting highlight), but nothing worth turning into a meal. So the day turned out to be more of a scientific field trip—certainly a worthwhile adventure in its own right.
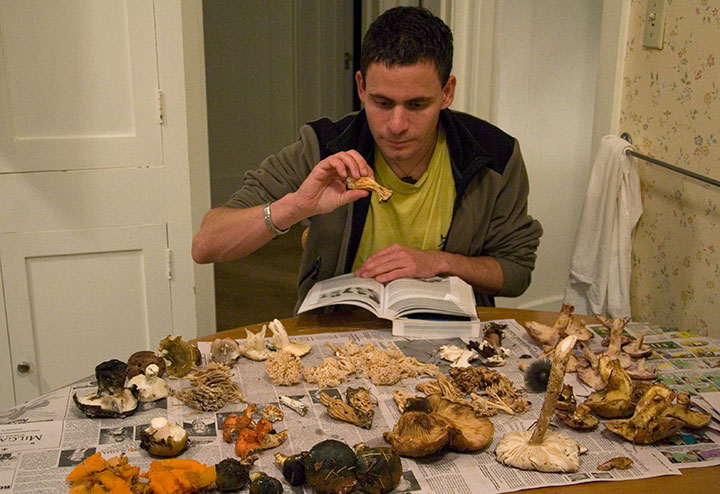
When we got home, Gilles spread out our haul and set to work identifying, making us laugh whenever he called out something strange (stinkhorn, elfin saddle, hedgehog—called sheep’s foot or pied-de-mouton in France).

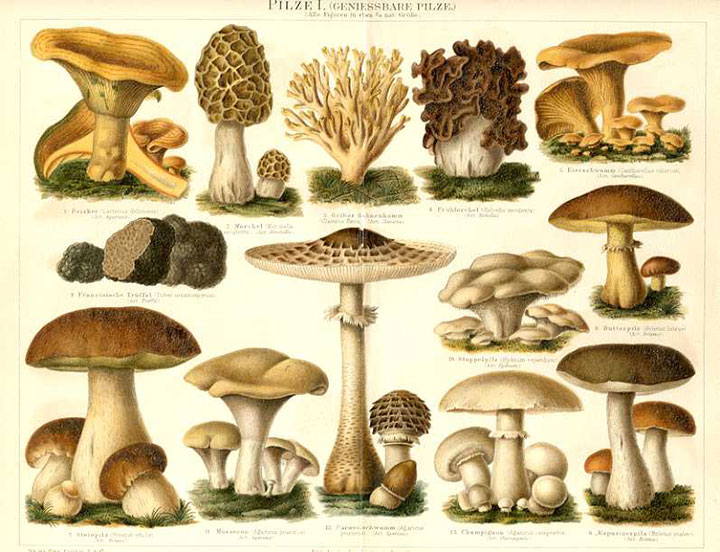
As for me, all this mushroom-naming reminded me of the newest addition to my reference library: the stunning Pictorial Webster’s, by book artist John Carrera (for a mind-blowing art experience, check out the video on the process behind the book here). So I took a page out of his book (sorry, I couldn’t resist), and did a little visual taxonomy of my own.
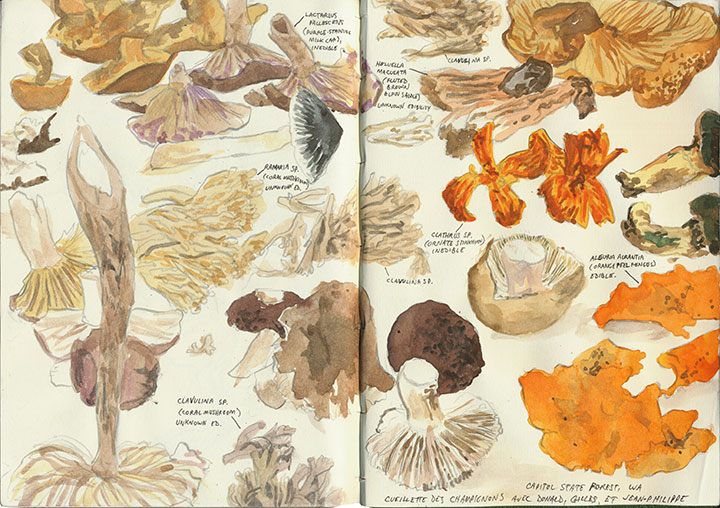
Jean-Philippe, meanwhile, had the best idea yet: purchasing a pound or two of fresh chanterelles, and putting his mad French cooking skills to work. The sumptuous champignons dish he whipped up disappeared into our mouths long before I thought to grab the camera, but I did remember to ask for the recipe:
Chanterelles à l’improvisation
– 1 1/2 pounds fresh chanterelle mushrooms, halved
– 1/2 cup bacon (3 slices or so)
– 1 medium yellow onion, chopped
– 4 to 5 Tbsp olive oil
– 1/4 cup dry white wine (the Muscadet we had on hand was great)
– dry parsley to taste (fresh is better, but we didn’t have any)
– salt and pepper to taste
Brown the bacon until crisp, then break into small pieces. In a separate, large pan (so as not to overpower the mushrooms with the flavor of bacon fat), sautée the onions in olive oil over medium-low heat until lightly browned. Add the chanterelles, bacon, salt, pepper, and white wine, and sautée until the mushrooms are slightly limp and drained of most of their water content (oh, say 5 or 6 minutes). Season with parsley at the very end, then serve either alone or over brown rice. Watch the dinner conversation devolve into a series of satisfied grunts.
October 22nd, 2009
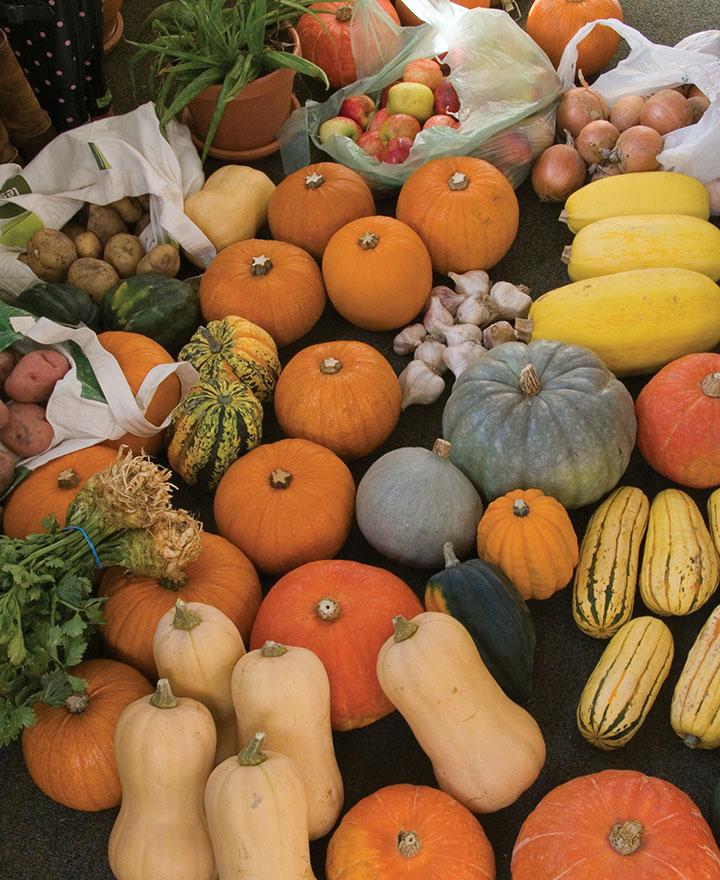
If you had seen our back porch last weekend, you’d probably think we were starting our own farmers market. But this is a typical sight for many seasonal foodies like us; when you swear off strawberries in January, you need enough fresh autumn fruits and veggies to last you until the end of April (notwithstanding my usual February freak-out where I cave in to a craving or two for salad).
We still have quite a ways to go yet, but we’re working hard to fill our root cellar, attic, freezer and pantry shelves with a wide variety of staples and goodies to keep our winter diet interesting. Here’s what we’ve got so far:
In the root cellar:
– 20 lbs. onions
– 10 lbs. apples (still need 2 bushels)
– 10 lbs. potatoes (still need at least 80 lbs., plus a bushel of carrots and parsnips)
– 9 bottles of wine
In the freezer:
– 4 lbs. locally cured, nitrate-free bacon
– 5 whole, local “Rosie” chickens
– various cuts of local, organic meat
– various cuts of venison, provided by my father-in-law
In the refrigerator:
– 5 lbs. fresh cranberries (for canning; more to come)
– 2 or 3 red cabbages
– 6 or so honeycrisp apples (which don’t keep long but are my favorite kind)
– 1 bunch celeriac root now in my belly—yum!
– 1 lb. garlic
In the pantry:
– 25 lbs. rolled oats
– 5 lbs. steel-cut oats
– 10 lbs. coarse-ground grits (not local, obviously, but the mill is definitely a mom n’ pop operation)
– at least 6 different kinds of rice
– 30 lbs. sugar (mostly for canning)
– 3 quarts local, single-source honey
– 15 or so different varieties of loose-leaf tea
The Tailor’s 2009 home preserving yield to date:
– 5.5 quarts dried blueberries
– 6 pints blueberry syrup
– 5 pints canned whole blueberries
– 9 pints blueberry jam
– 9.5 pints blackberry jam
– 8.5 pints raspberry jam
– 6 pints strawberry jam
– 15 pints canned heirloom tomatoes
– 16 pints tomato sauce
– still to come: apple butter, apple sauce, cranberry sauce, chicken broth
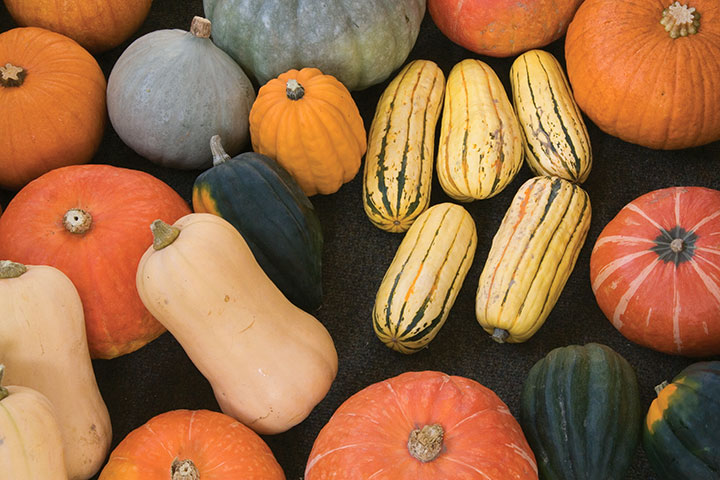
And then there’s the winter squash in the attic: one of my favorite parts of the season, and of living and eating in the Pacific Northwest.
In the attic:
– 14 sugar pie pumpkins
– 8 kabocha squash
– 7 delicata squash
– 6 carnival squash
– 7 acorn squash
– 6 butternut squash
– 3 spaghetti squash
– 1 mini hubbard squash
– 1 jarrahdale pumpkin
Okay, we might have gone a little overboard on the squash, but I never get tired of it, and it’s an important staple of a seasonal diet. We keep these babies in the attic because they last much longer there—pumpkins and squash prefer a cool, dry environment to the cool humidity of the cellar. Our squash colony is a big conversation piece, and we get a lot of questions about pumpkin storage, so I’ll share the scoop:
First, choose squash and pumpkins with intact stems—those that have had their stems snapped off won’t last long. Next, make sure your squash was harvested before the first hard freeze; post-freeze specimens rot fast. Check around the stem and on the bottom end for any mold, rot, blemishes, damage, or sogginess. Now it’s time to sock them away—an attic is best, but anywhere that’s cool, dry and dark will work fine (but never let them freeze! During a cold snap last year we had to haul them all down into the living room when the attic hit 32 degrees!). Don’t stack your squash; just like apples, a rotten squash can infect any neighbors it touches. Instead, we make little “nests” for them by crumpling up newspaper and cushioning each one individually, in a single layer. As long as they’re unblemished and in good shape, and stored carefully, many varieties will last until at least March. Spaghetti squash will often keep until April, but sadly, butternut (my absolute favorite) tends to have the shortest lifespan. So eat those first, and relish every bite.
I feel like a little pumpkin pie. How about you?
October 11th, 2009
Autumn is, hands-down, my favorite time of year. So many of the things I love about fall have to do with food (mulled cider, pumpkin pie, spiced apples, butternut squash, fried green tomatoes, celeriac—the list goes on and on), and since the Tailor and I eat as seasonally and locally as we can, it’s a darn good thing we live in a state with such abundant produce at hand.
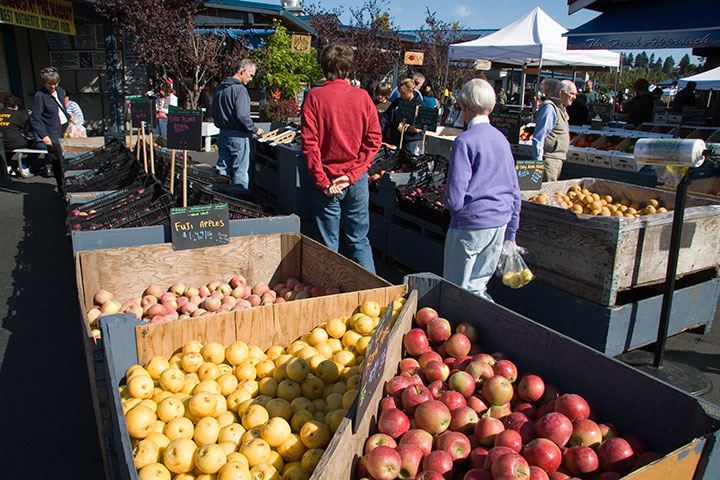
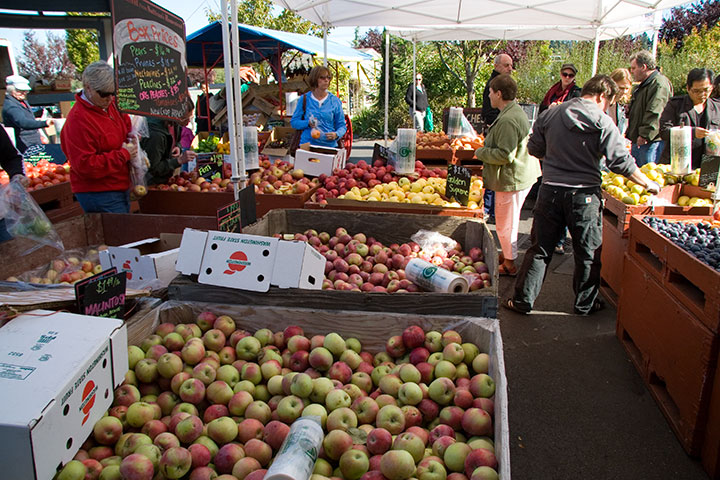
Both T-town and Seattle have incredible open-air markets (hello, Pike Place? I love you.), but my favorite of all is the quietly-unassuming Olympia Farmers Market. Our state capital might not be the hoppin’ tourist hub that downtown Seattle is, but Olympia’s gigantic, spectacular market is one of the best I’ve ever seen, anywhere.
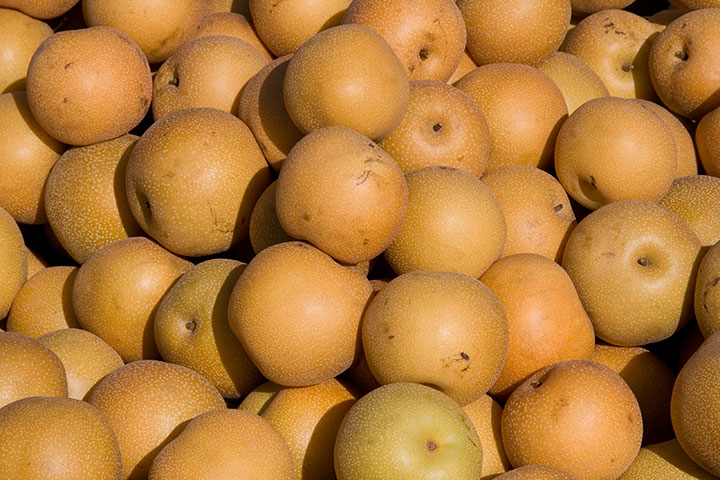
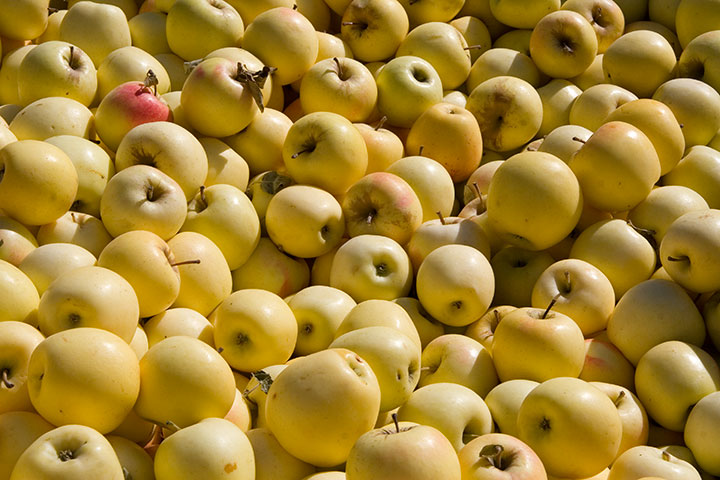
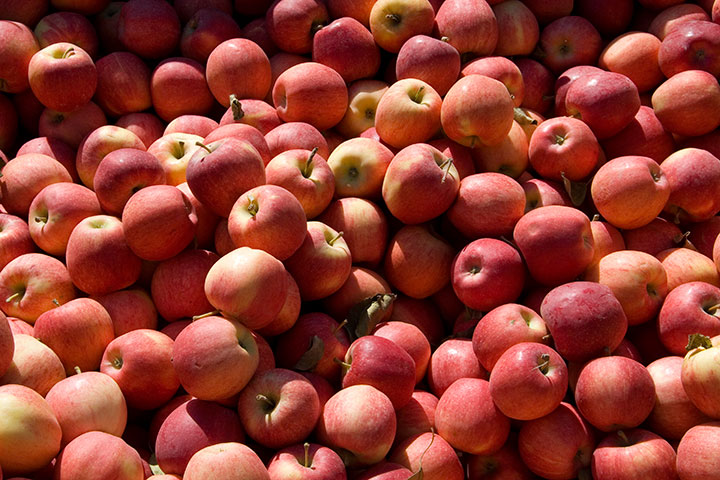
This is the place where you can find around forty different types of Washington apples, and another dozen or so kinds of pears (above are Asian pears, which count as honorary apples in my book).
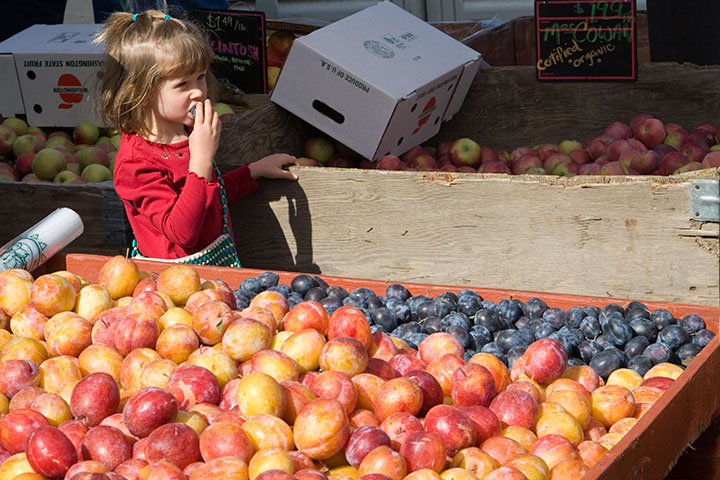
And there’s plenty of everything else, too. The sheer variety is staggering, and distracting—especially when your mission for the day is to buy just one variety of overwintering apples for your root cellar.
Though I must say, I love seeing the transformation from this:
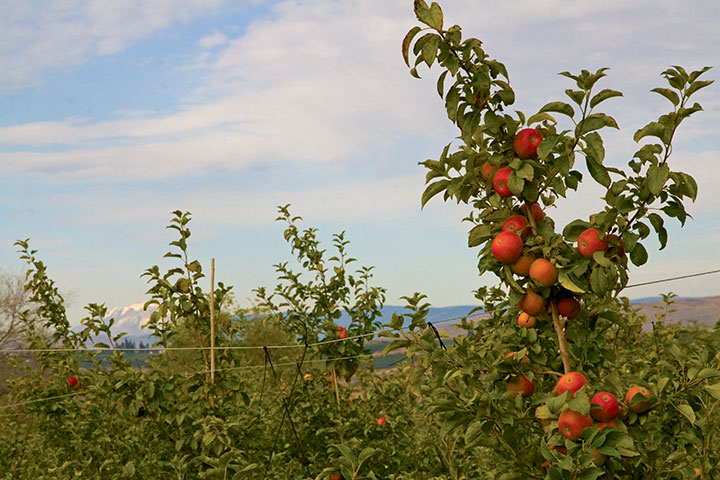
To this:
Ingredients for a perfect Sunday: crisp sunny weather, countless apple bins to dig through, a handful of friendly Olympians, and a dash of live bluegrass music for spice.
The apples are always a show-stopper, but our biggest goal for the day was something we can’t get at any of the three Tacoma farmers markets:
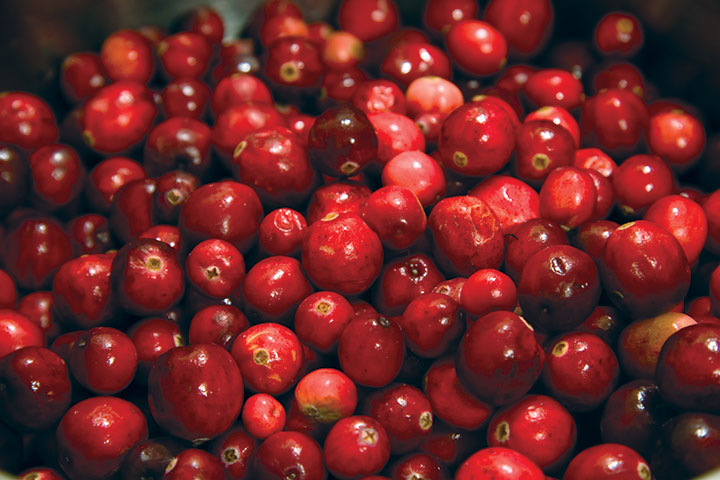
Fresh cranberries. Olympia is the first stop for cranberries coming in from the coast, and the season is now in full swing. We took home just five pounds this time, but you can bet we’ll be back for more. The Tailor and I have a deep and abiding love for cranberry sauce (it’s great on grits. Don’t look at me like that.), and we kicked off this year’s harvest by finishing off the last jar of our 2008 canning crop.
Homemade cranberry sauce is an incredibly easy thing—so much so that I really don’t understand why so many recipes call for Jello. Cranberries have so much natural pectin in them that with enough sugar they’ll jell on their own. In any event, the Tailor and I believe that cranberry sauce should be a sauce, not a can-shaped cylinder of jelly. So in honor of those little rubies from our rugged coast, here is our favorite recipe:
Cranberry sauce
– 1 lb. fresh cranberries, washed and drained
– 2 c. water
– 1 1/2 c. sugar
Combine the water and sugar and bring to a boil in a small saucepan. Boil for about two minutes on high before stirring in the cranberries. Put the lid on and listen; when the cranberries start popping like crazy and the sauce has begun to foam up, it’s done. This takes less than five minutes. Serve hot or cold (or on grits!).
Note: remember to put that lid on, or you’ll have hot, popping cranberries everywhere!
October 8th, 2009
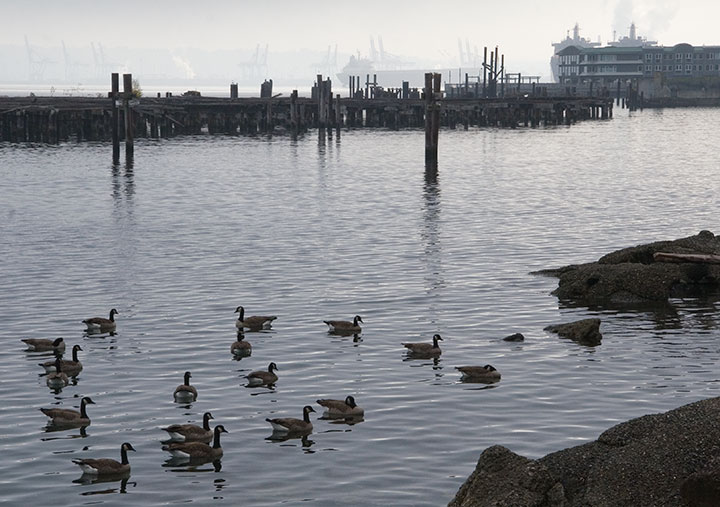
All this outdoor research over the past few months has gotten me into the habit of carrying the camera everywhere, just in case the weather changes. I was on my way back from dropping my work off at the PLU Gallery when the fog rolled in. By the time I arrived at the waterfront, it was already passing, but I managed to capture this shot before the moment disappeared.
This place is so easy to love.
September 25th, 2009
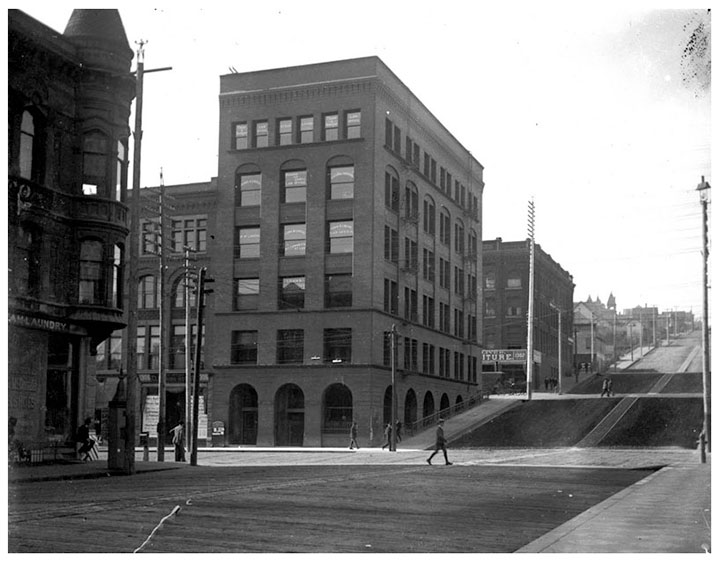
For the past several months, the buzz here in T-town has centered around the Luzon building on Pacific Avenue, a 119-year old structure that, depending on whom you ask, is either an architectural gem or a decaying eyesore. (As you can probably guess, I fall into the first category.) Above is an image of the Luzon in its infancy; this photo is printed from a turn-of-the-century glass plate negative found in Jessica Spring’s attic (and is part of her artist book, Parts Unknown). The thing about the Luzon that has made it such a sore spot around here is that it’s not just a living piece of history—at the time it was built, it was something of an engineering marvel. Co-designed by Daniel Burnham, who went on to design the Flatiron Building in New York and became one of the pioneers of modern multi-story structures, the Luzon was one of the first buildings in America to have steel columns. That makes it a direct ancestor—the great grandpappy, if you will—of the American skyscraper itself.
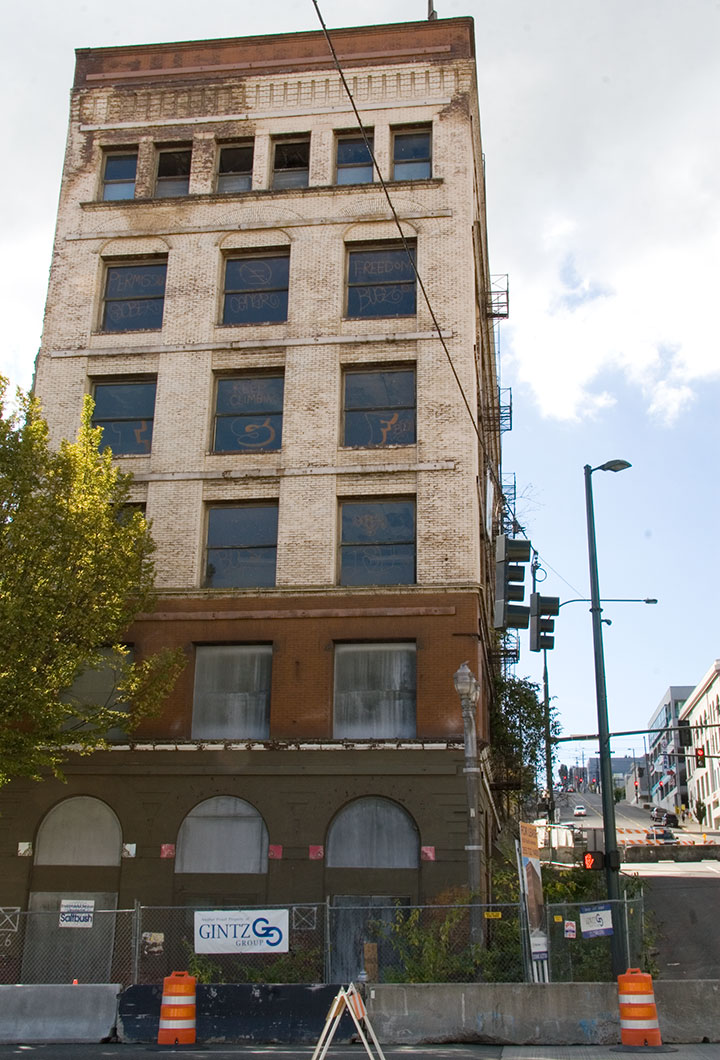
This is the sorry state of the Luzon today. Even though it is on the National Register of Historic Places, and is one of only two Burnham & Root buildings remaining on the West Coast, it has been allowed to decay, apparently beyond the point of no return. While each of many redevelopment schemes over several decades has fallen through, the building has become increasingly derelict. Now that the adjacent property—which provided structrual stability—is long gone, the Luzon is crumbling under its own weight. The City has even closed the surrounding streets in case of a collapse.
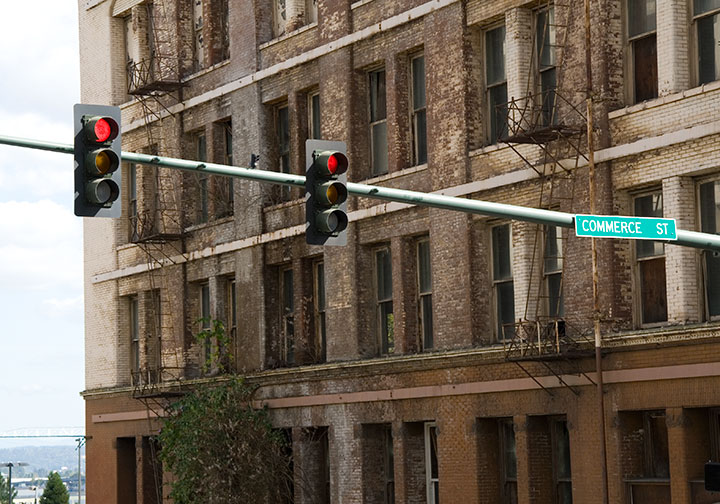
Oh, and there’s a tree growing out of it. I don’t think that was part of the original plan.
Well, whether it was a ploy to get around the Historic Register for a development scheme, or the powers that be just dragged their feet for too long (or some combination thereof), the detractors are finally getting their wish. The building is slated for demolition tomorrow morning. So now everyone (including me) has got the Luzon on the brain.
Last week the inimitable artist/cartoonist RR Anderson (who has a few choice words himself about the Luzon’s fate) challenged me to compete in his weekly sidewalk chalk contest, the Frost Park Chalk Challenge. I was looking for an outlet for my Luzon frustration, so I accepted. I grabbed a hunk of charcoal, a handful of communal Crayola chalk, and headed for a highly visible chunk of concrete wall to create a public altarpiece.
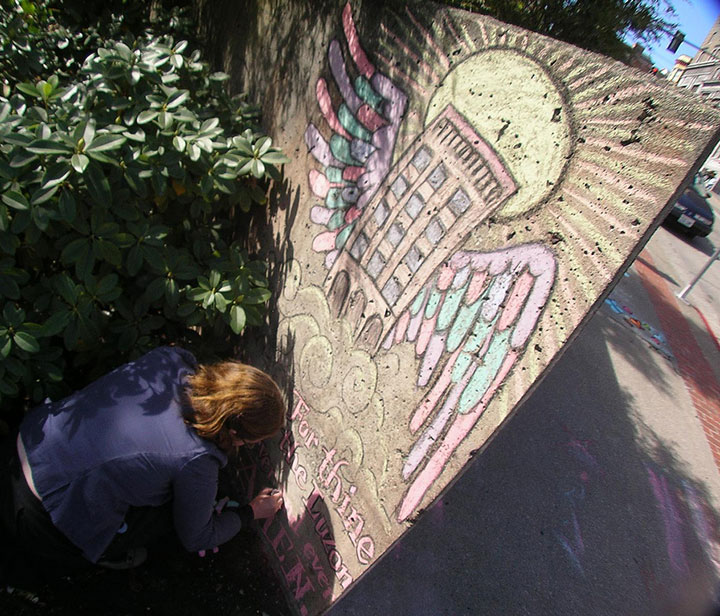
Photo by R.R. Anderson
My little Ascension doodle earned me a lot of comments from passers-by and the title of BEST ILLUSTRATOR IN THE UNIVERSE (OF TACOMA) for the week (thanks, guys!).
But sidewalk chalk isn’t exactly archival, and I wanted to make a somewhat more lasting statement. Here’s where letterpress comes in. Jessica and I were commissioned to design and print this year’s poster for Art At Work Month, hosted by the City. So since the theme for the overall Art At Work design this year is “ghost signs,” we decided the poster would be the perfect opportunity for a little cameo.
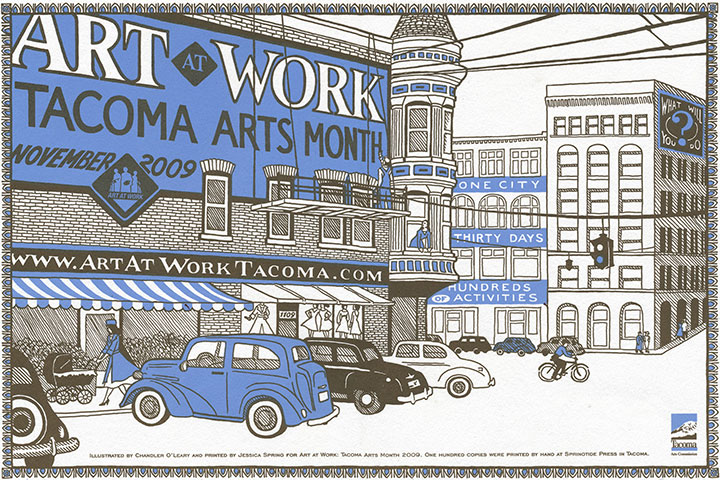
The original posters are letterpress printed in an edition of 100, and will be sold by the City in November, as part of the festivities. But a reproduction will also be inserted into every Art At Work brochure—over 10,000 of them. So come November Burnham’s gift to Tacoma will be long gone, but it’ll feel good to know that we did our part to make sure the Luzon is everywhere we turn—at least for a little while longer.
Edited to add: now that Art at Work month is over, you can now find the last few copies of the letterpress poster in the shop!
September 22nd, 2009
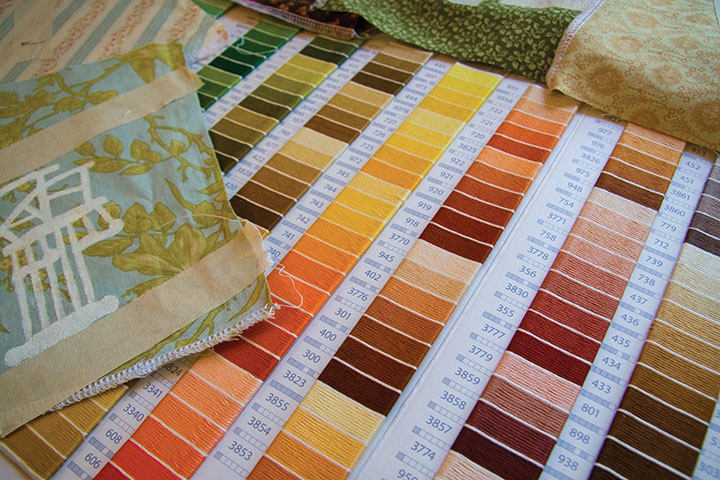
Swatch books are very near the top of my list of Favorite Things Ever. There is something so satisfying about having every color, pattern, texture, or finish right at your fingertips. I love sitting at my table, with a cup of tea in hand and six hundred sample chips spread out before me, ready for some serious color theory. (In case you’re wondering, this is the amaze-a-crazy DMC embroidery floss über color card. Well-made swatch books like this tend to be expensive to produce, and impossible to find once they go out of print. So if you’re into this sort of thing, I’d suggest snagging your copy before they decide to quit selling them.)
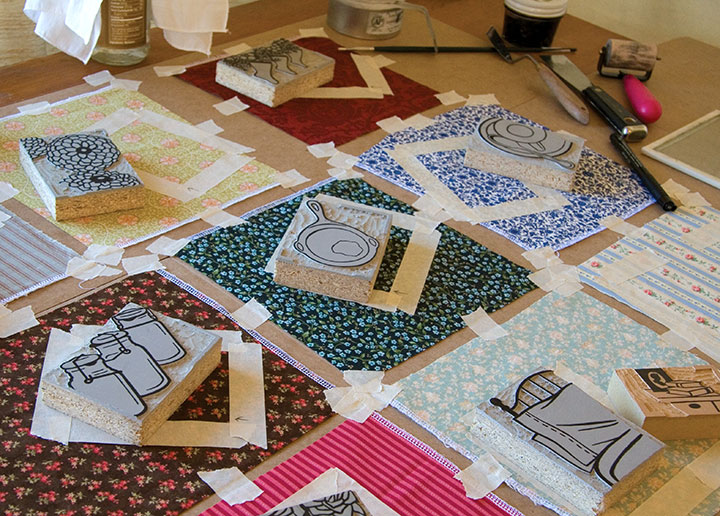
These days the studio has been an explosion of choices. Snippets of fabric and open dictionaries have taken over my life as I get ready for a new solo show, which opens October 14 at the Pacific Lutheran University Gallery. Stay tuned for more details in the next few weeks.
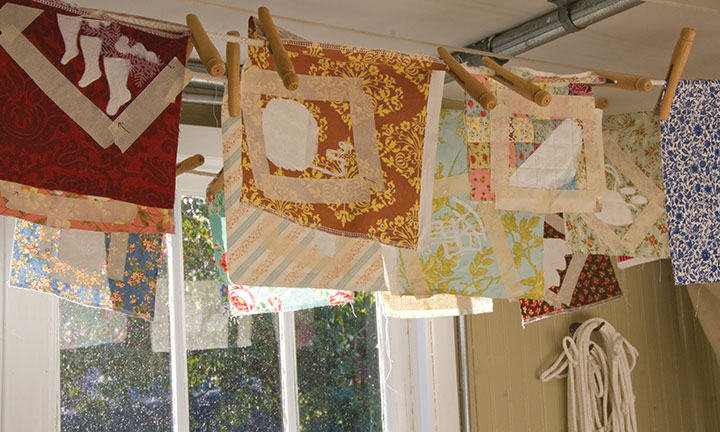
I wish I had something more concrete to show you, but this is one of those projects where everything comes together at once, right at the end (which can be as nerve-wracking as it is rewarding). I’ve got to say, though, that calico—finished or not—sure makes for pretty pictures.
September 13th, 2009
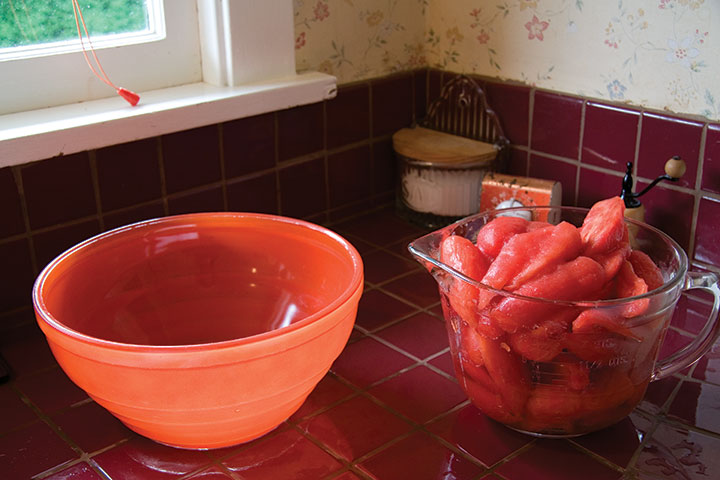
The season is turning ’round these parts—it seems the whole world is tinged with hints of red and gold. We had another warm weekend, but I’m not fooled; behind the hot sun are chill mornings and the rush of the harvest.
So it was another canning weekend for the Tailor, supplied by our latest farmer’s market haul and our final trip to the Blueberry Park for the year. We had to work hard for it yesterday, but amongst the nearly-spent, now-crimson bushes, we found just enough berries for one more batch of jam. Our total haul for the year? Over fourteen gallons of blueberries! In the spring we’ll return the favor by volunteering.
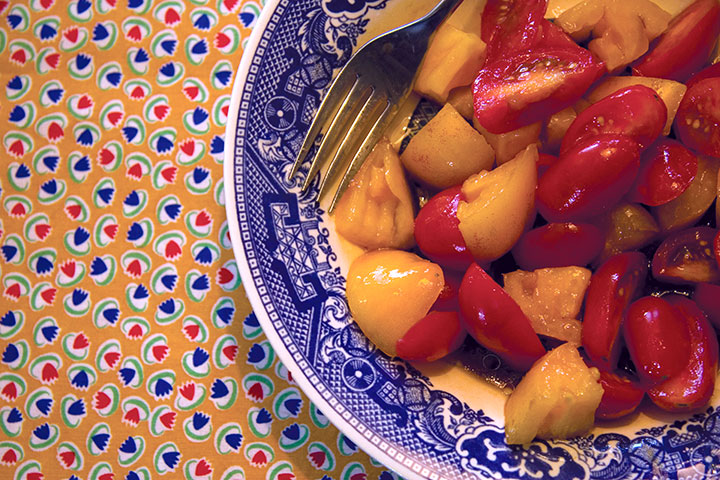
There’s no time to pine for berry season, though—now we’re up to our eyeballs in heirloom tomatoes (like these beauties from our favorite farm in the Puyallup Valley, splashed with a little oil and balsamic). And soon it’ll be time to get the root cellar and attic ready for a winter’s worth of squash, onions, potatoes, and pumpkins (more on that later). Marking transitions is my favorite part of eating seasonally, and autumn is my favorite time of year. I’ll be ready for fall’s bounty—camera in one hand, fork in the other.
September 8th, 2009

As I’ve mentioned before, I’m currently in the process of researching Mt. Rainier for my next artist book. This involves drawing and photographing the Mountain over and over (and over and over) again, in as many different conditions and from as many different vantage points as possible. I’ll get into the whys and hows some other time, but for now, suffice to say this is a huge challenge. Not only do we have incredibly unpredictable weather here, but Rainier also tends to play by his own rules, appearing and disappearing regardless of any logical connection to the forecast (which, somewhat ironically, is the entire point of my book…).
I’ve done my best to even the odds by doing the bulk of my research during the summer and early fall—traditionally the dry season here. This summer, however, has proven to be about as nontraditional as possible, and has thrown a whole lot of monkey wrenches into the works. For weeks I had planned a long trip to various points east, where the landscape is drastically different than here in the west. But here’s the rub: not only did I require a flawlessly sunny day to view the Mountain from so far away, but the best time to view Rainier from the east is in the morning—I’d have to leave too early to see that day’s weather report. So I waited, and stalked the National Weather Service, and packed and unpacked my gear. During our ridiculous heatwave we had day after day of beautiful sun, but hot weather makes the atmosphere so hazy that even from here, just forty miles away, Rainier was just a faint silhouette. And then it was one excuse after another; either I had an appointment or deadline I couldn’t change, or it was raining, or it was hot and hazy east of the Cascades, or there was a forest fire blocking my path (no joke!). Over a month went by like this, and I could feel my window of opportunity shrinking—many of the roads included in my plans are closed from October through June.
And then, a couple of weeks ago now, it seemed I’d finally get my chance. Every weather report promised dry, cool, sunny weather, for one lovely day, before the gloom closed in again. I packed my drawing paraphernalia, both cold and hot weather gear, a picnic lunch, a pile of atlases and topographic maps (you didn’t think I’d be using GPS, did you? When a letterpress printer marries a geologist, topo maps become a permanent fixture of both studio and science lab!), my camera, and plenty of music in the car, set the alarm for 3:15 am, and went to bed early with my fingers crossed.
By 3:30 I was ready to go. I poked my head outdoors, saw stars overhead, and decided to make a break for it. Two hours later I arrived at my first stop: Tipsoo Lake, just off the road in an alpine meadow. To my immense surprise I wasn’t alone, even at that absurd pre-dawn, Wednesday hour, with the entire meadow blanketed with frost. A pair of photographers arrived just minutes after me and set up tripods nearby, and a friendly Slovak couple emerged from their tent to introduce themselves while we waited for the sun to rise. The biting cold made me question the sanity of this trip, but when the light finally spilled over the ridge to dye the Mountain pink, all my doubts disappeared.
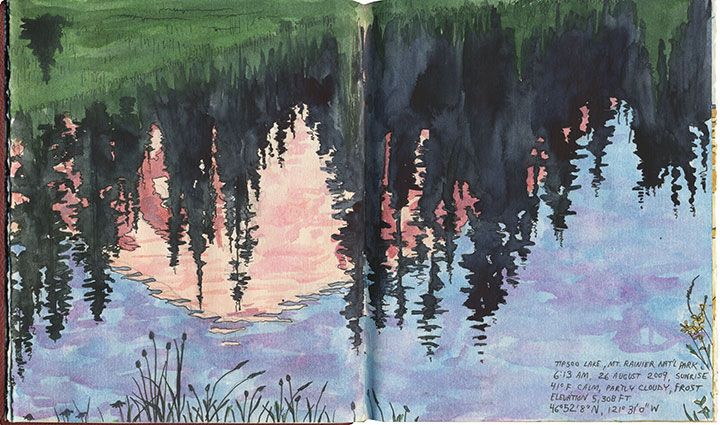
I stayed just long enough to block in a composition and shoot a few reference photos before the light changed and I lost the moment (I was on a tight timetable all day, so I finished all of these sketches back in the studio). I checked my watch and hit the road again (and waved to the Slovaks as I passed them again, thirty miles later).
From here onward I had to work entirely on conjecture. Tipsoo Lake is a famous, oft-photographed spot, so I knew what sort of composition I wanted. But I had no photo reference for the rest of my guesses that day, only an idea of what I was looking for and a lot of half-memorized topographic maps. I was hoping to capture a scene of Rainier through the iconic apple orchards of Yakima, but I knew (from all the neck-craning I’ve done on previous drives through the region) that for the most part Rainier isn’t visible from the Yakima Valley, where most of the fruit trees are. According to my maps, though, there were some flat, gridded regions at the top of the bluffs overlooking Yakima—I hoped the grid meant farms, and that the extra 600 feet in elevation would be enough for a glimpse of the Mountain. So I made for Selah Heights Road—a hairline even on my most detailed map.
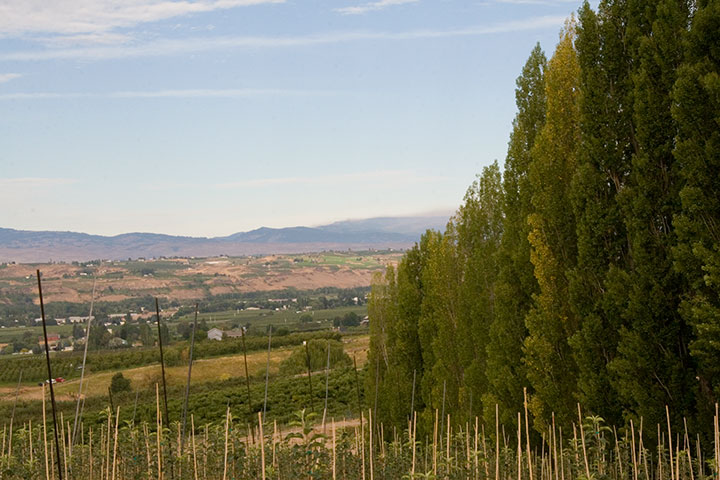
The road climbed past rows of poplars, trees laden with fruit and sweeping views of the valley; so far, so good.
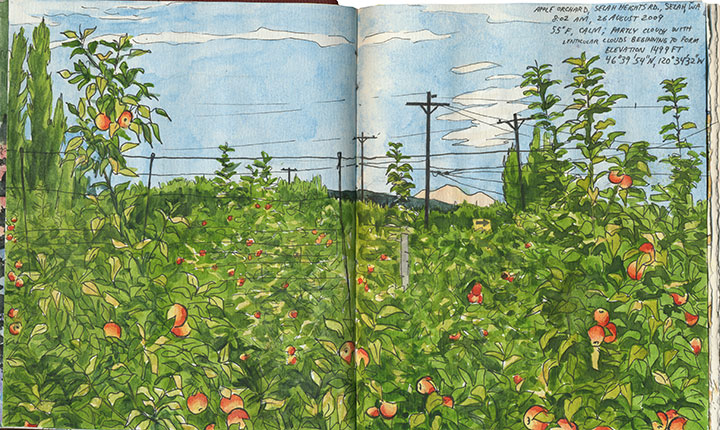
And then I found it: just the tip of Mt. Rainier visible between the apple trees. I couldn’t believe my luck. And just as I finished roughing out my drawing (I still had a lot of miles to cover before my next destination, so I worked fast and loose), I glanced to my left and discovered another treat:

Mt. Adams, for a little extra credit.
After a quick, desperate and delicious coffee in Yakima, I turned south. My next stop was a place I’d never been: the Centerville Valley, a high-plains agricultural area just beyond Goldendale.
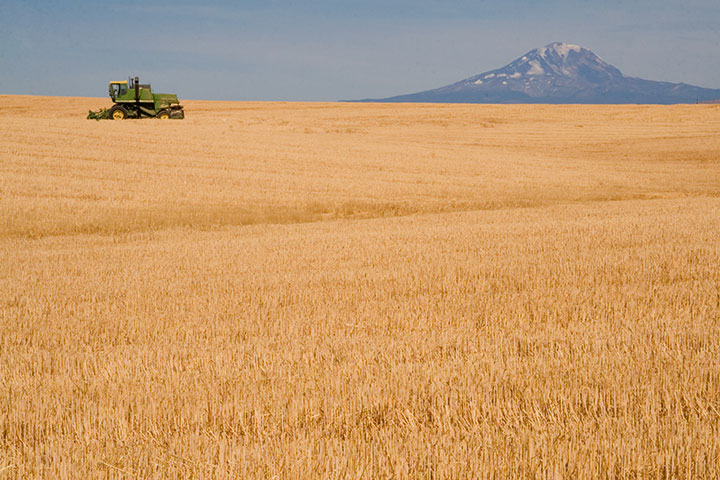
I knew that Adams would be prominently visible from here, but I could only hope that Rainier was as well—it sure would make a pretty picture if it were, I thought.
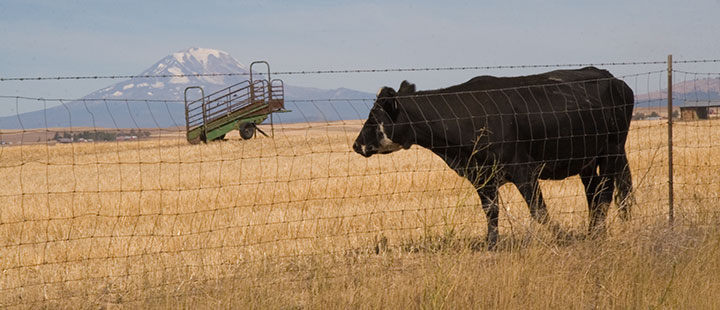
Nope, still Adams—although from this angle it tends to fool people (and cows).
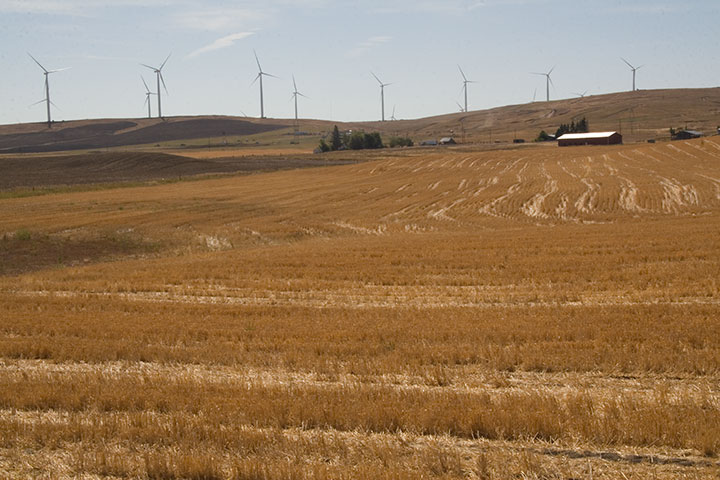
I looked behind me, and saw that the farmland sloped upward a bit, before giving way to the Columbia Hills. So I headed south along a dirt road for about a half mile, parked, and trudged a few yards into a field of wheat stubble.
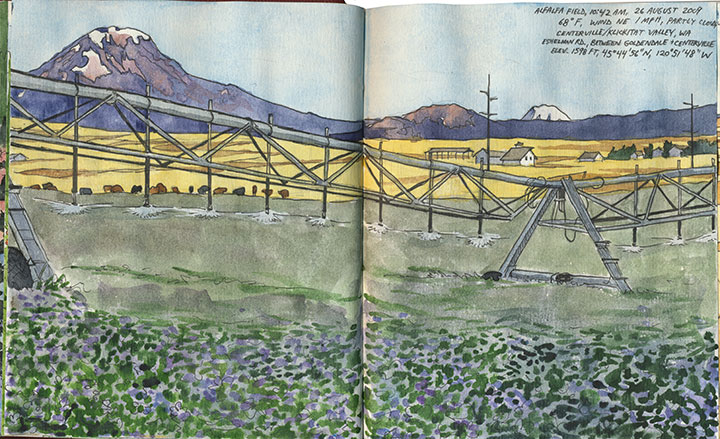
Bingo.
The alfalfa blossoms were sheer luck, just like so many other things that day. And that irrigation rig was moving—so I was never more thankful for digital photo technology than that moment (as a die-hard darkroom enthusiast, I never though I’d say that!).
Only one item remained on the itinerary: a narrow, winding goat track called the Dalles Mountain Road.
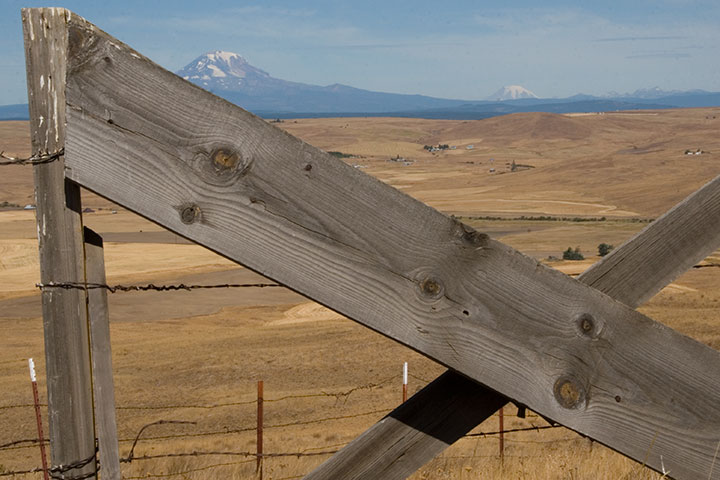
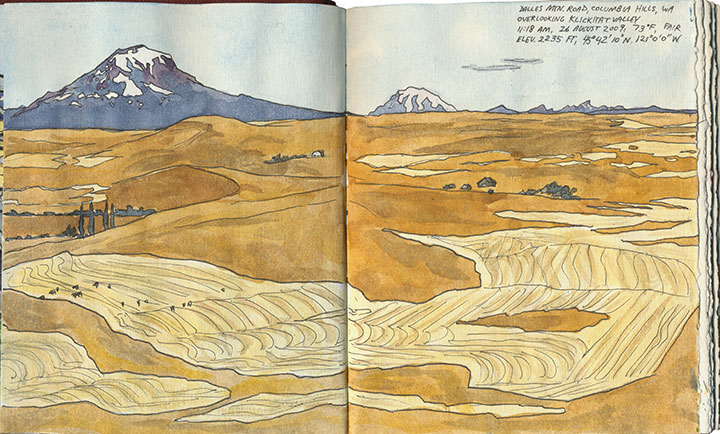
The spectacular vista of Adams, Rainier and the valley was just the beginning.
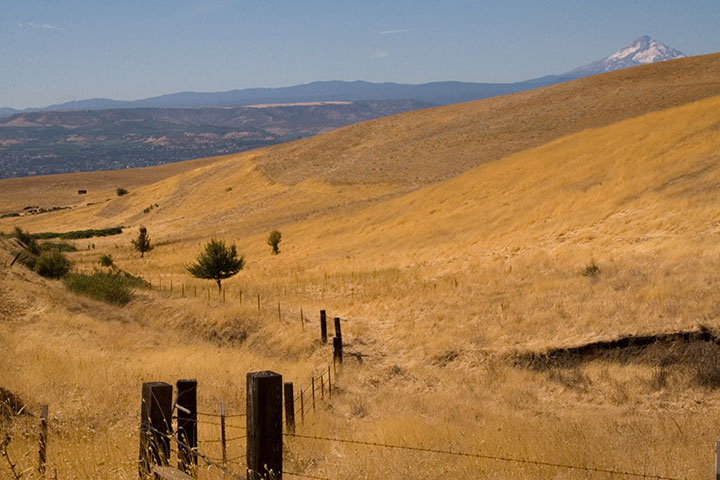
The road snakes over the top of the Columbia Hills, providing views of five volcanoes (that’s Hood there)…
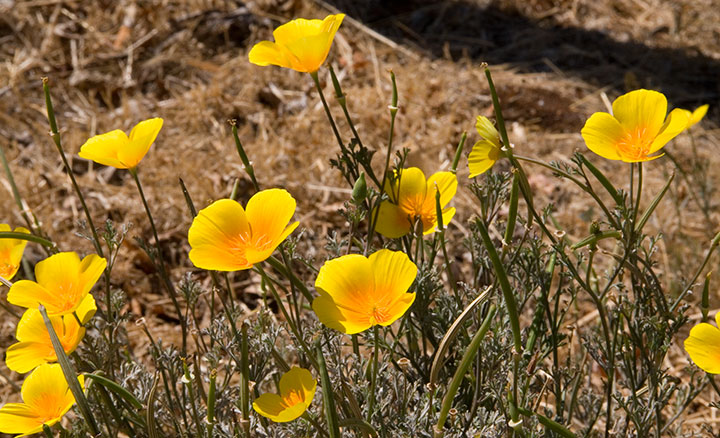
pockets of stunning wildflowers…
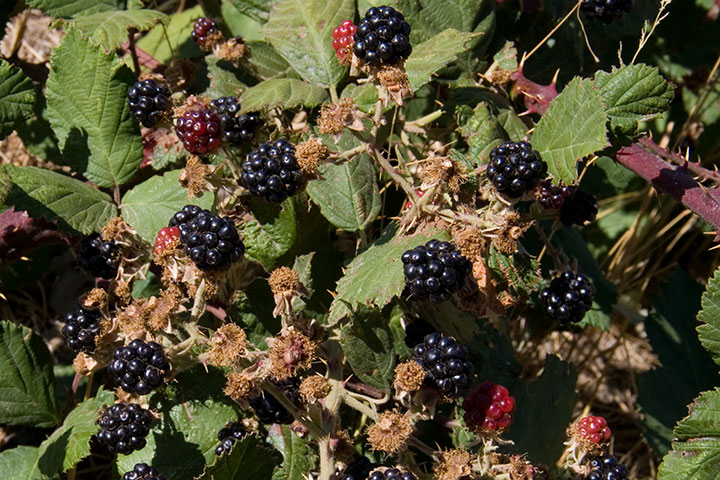
and plenty of road-side snacks.
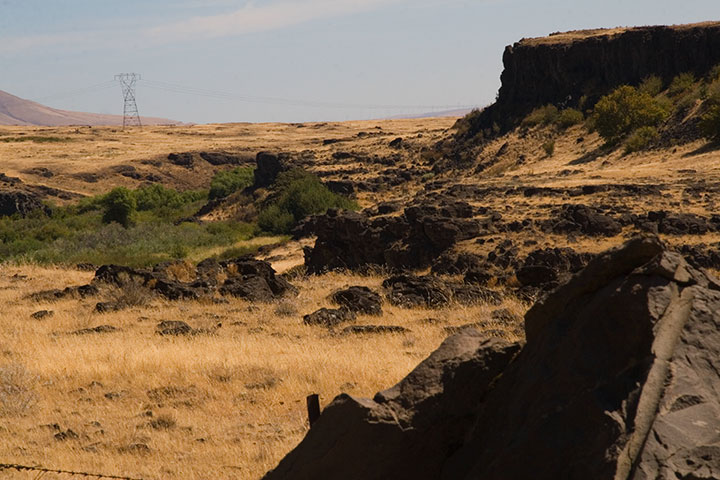
On the southern slope of the Hills the landscape turns suddenly rocky,
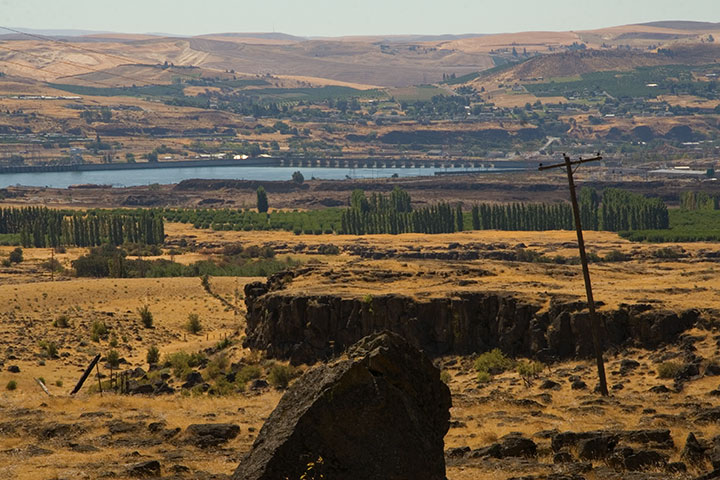
and the mighty Columbia River bursts into view.
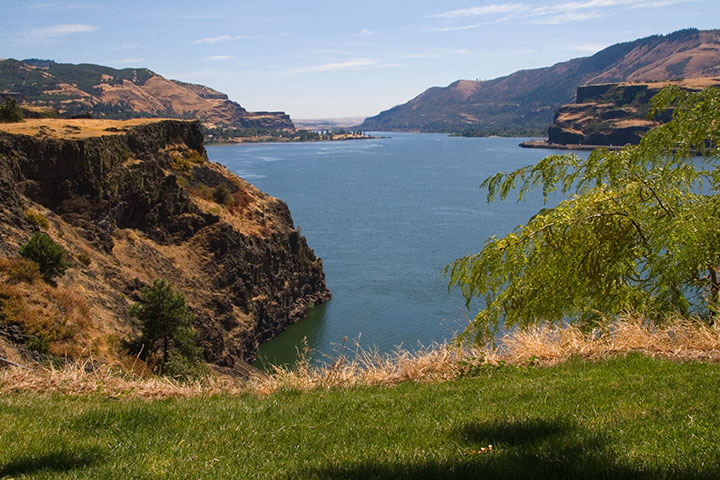
My research had gone off without a hitch, and right on schedule. It was only just noon: mission accomplished. So to celebrate I stopped for lunch at one of the most stunning picnic spots I’ve ever seen.
From that little patch of grass I could have chosen to go home the way I came, or finish the loop and return along the western side of the Cascades—it was almost perfectly equidistant. So as usual I chose the unknown road, and zipped home via the historic Columbia River Highway.
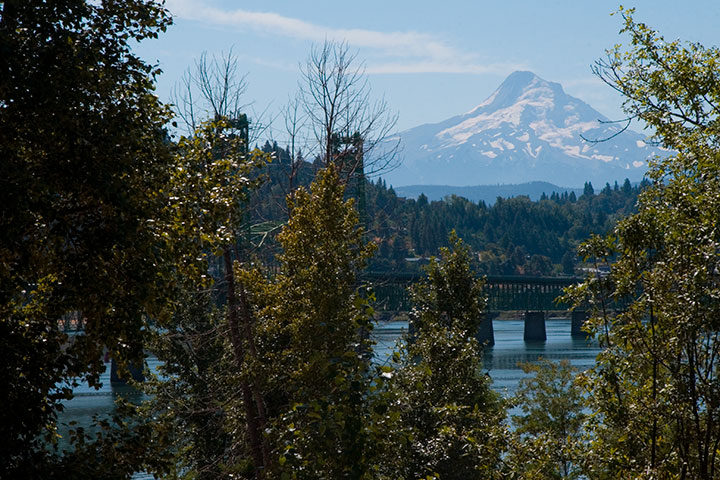
Fifteen hours, 515 miles roundtrip. And perfect conditions every step of the way. I think that after a summer of total frustration (remember the airplane incident?), maybe the universe decided to give me a break.
I’ll be sure to send a thank-you note.
August 6th, 2009
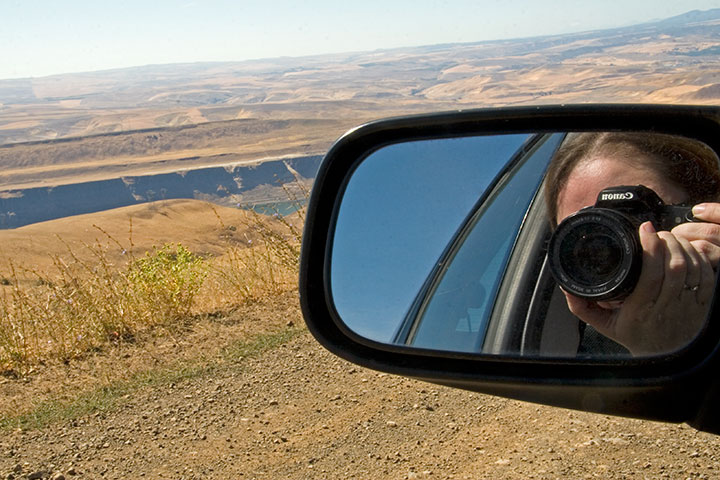
A year ago today our bright yellow moving truck pulled into Tacoma and turned the corner onto a new home, a new career, a new life. Here I am, 365 days later, and I’m still just as excited as on day one. To everyone in T-Town (and Seattle, and Portland, and everywhere in between!) who has welcomed me as one of your own: thank you, with everything I have.
I tend to be a list-maker, constantly looking ahead to what is yet to be done. And as I sifted through the thousands of photos I took over the past year, trying to narrow them down to a few favorites, a whole new to-do list emerged. Despite my best, most frantic efforts, I’ve barely scratched the surface of this new home of mine.
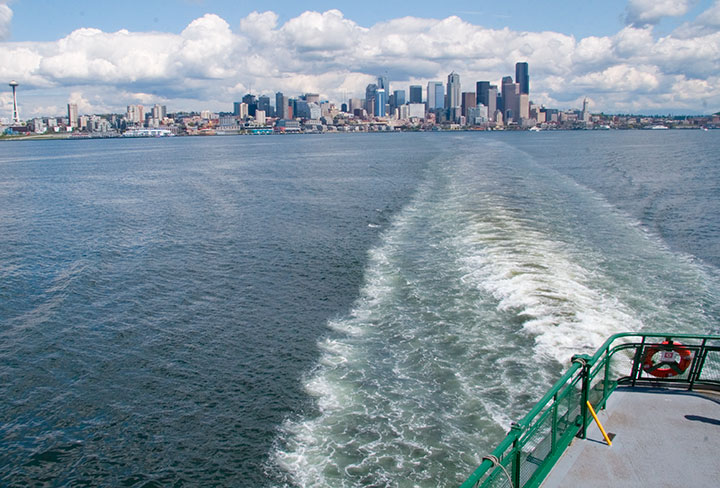
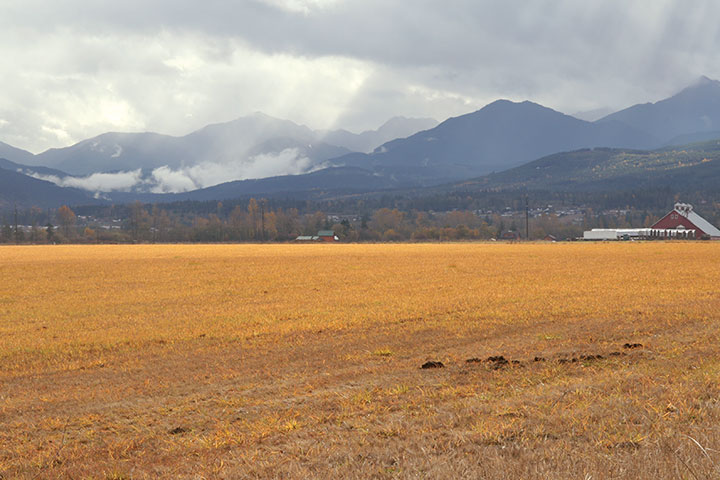
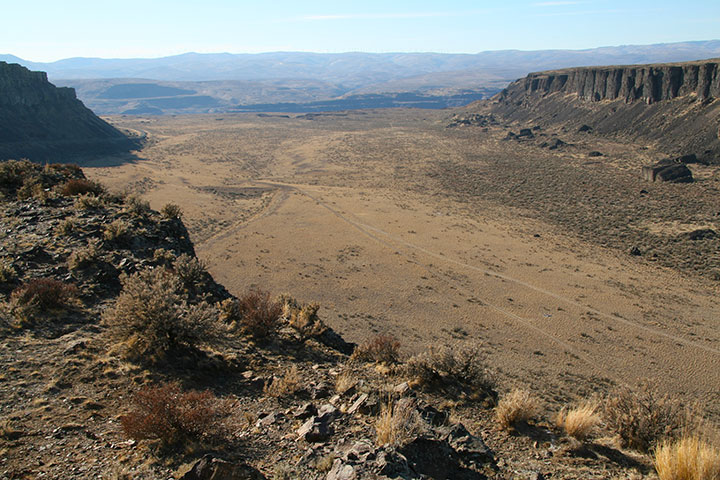
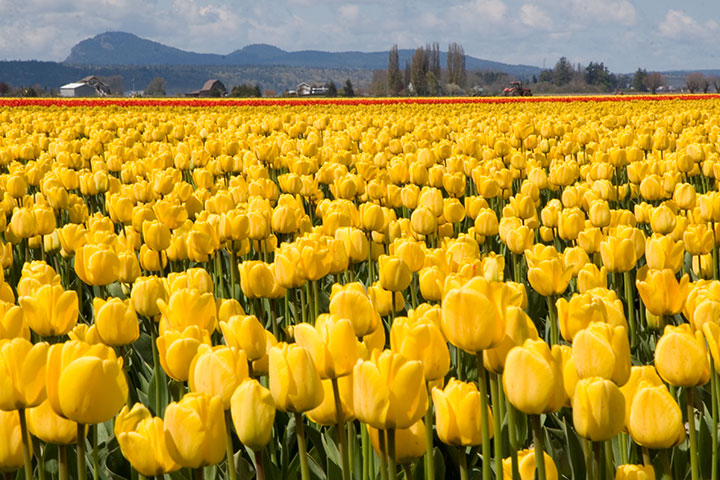
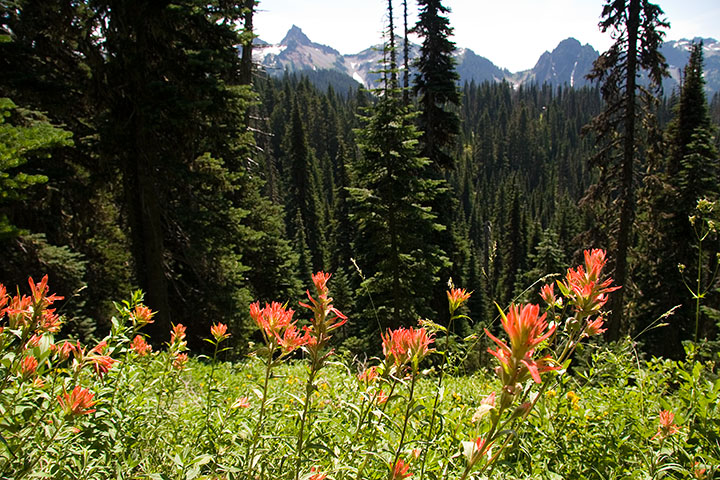
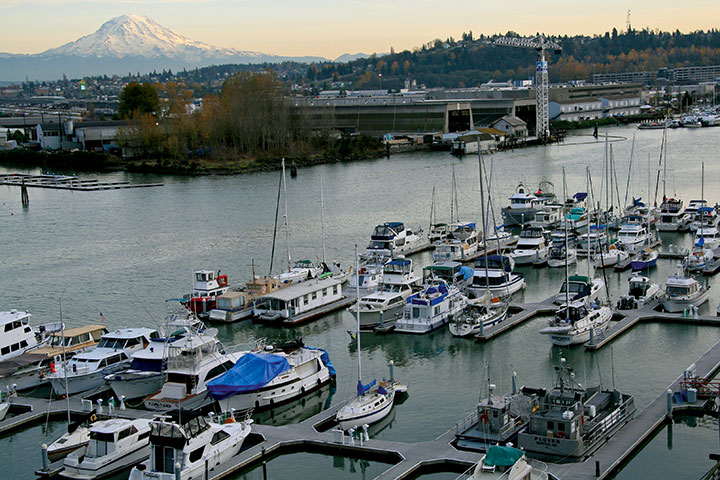
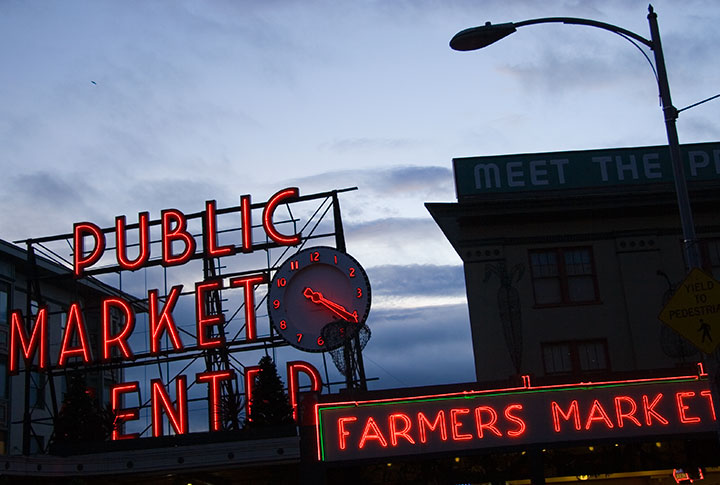
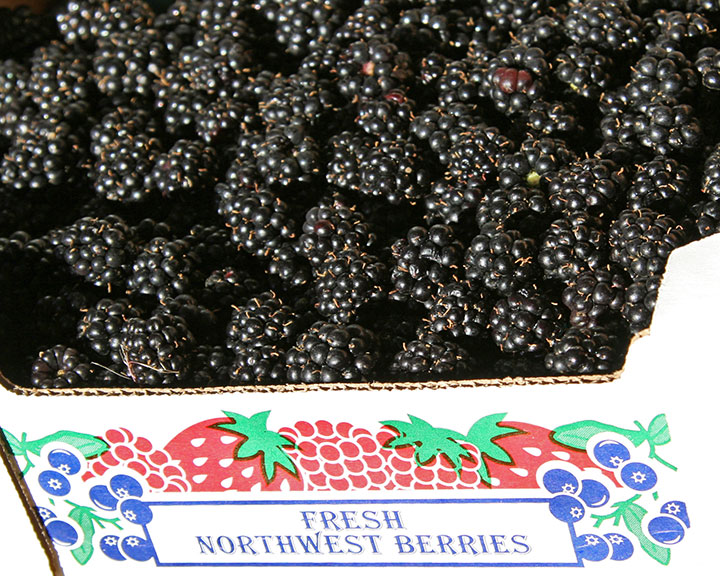
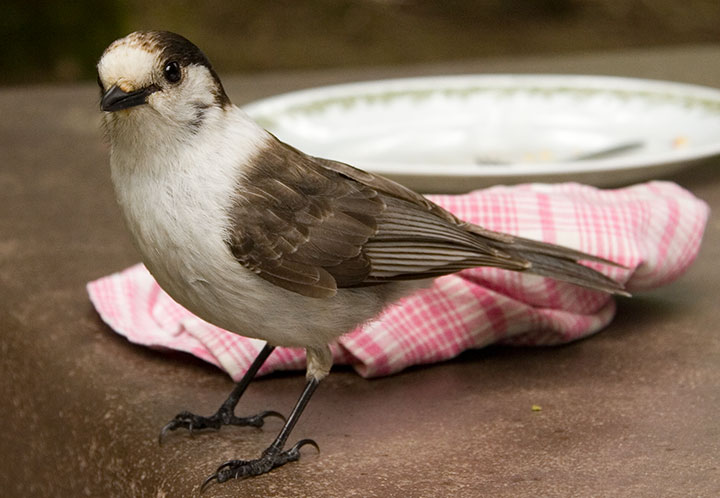
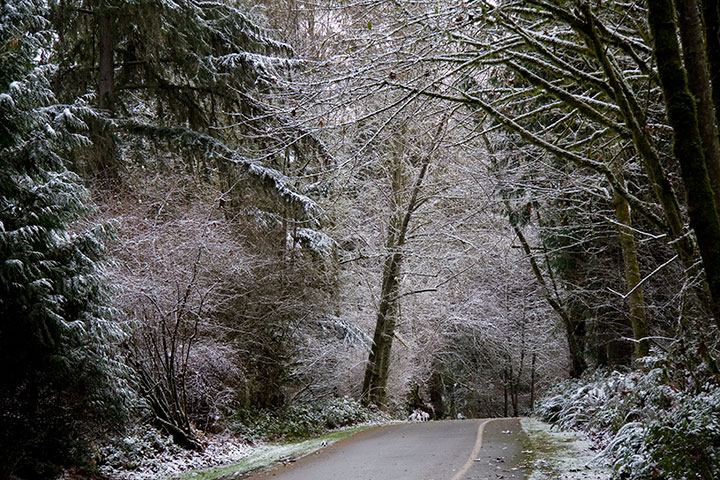
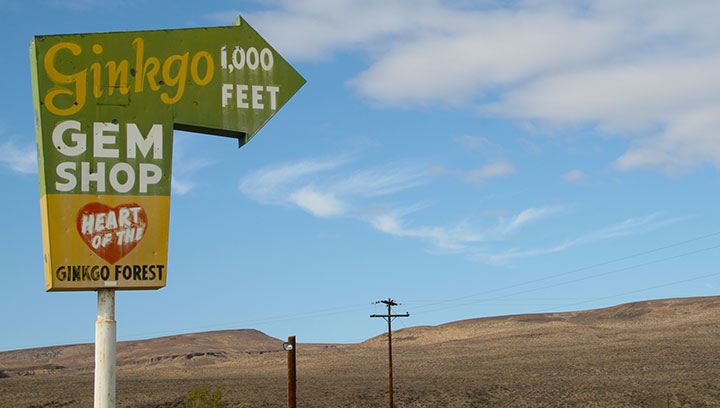
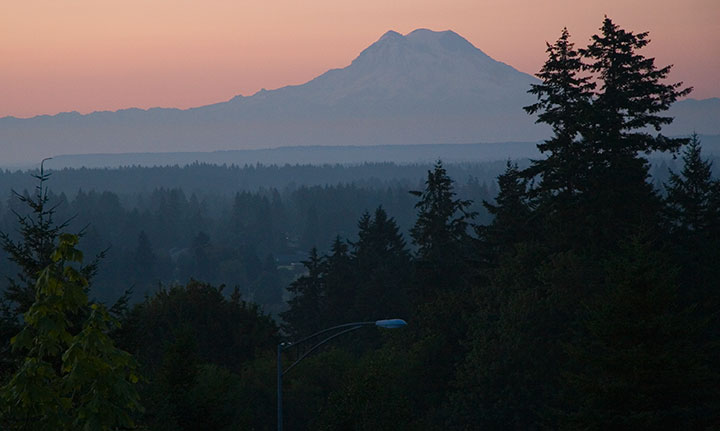
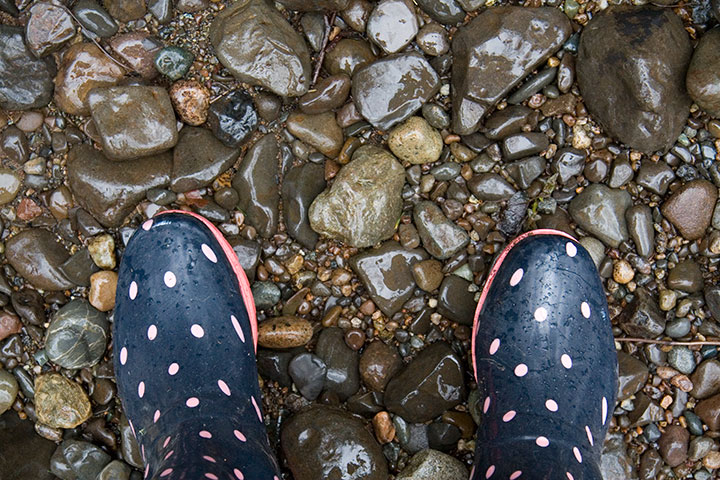
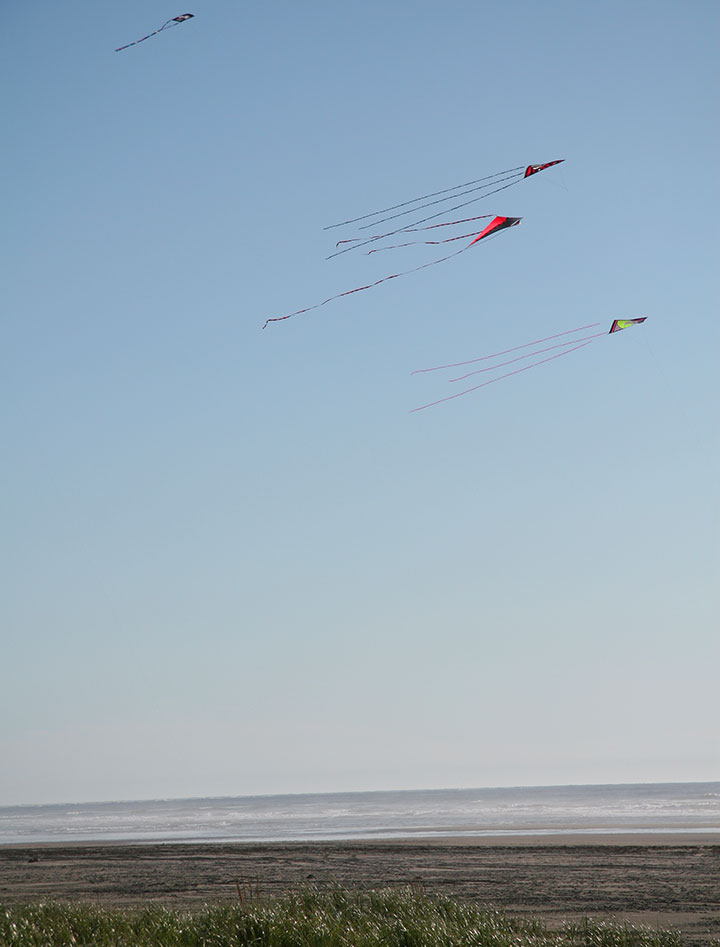
So I’ve got my work cut out for me. Washington, I’d like to get to know you a little better.
July 29th, 2009
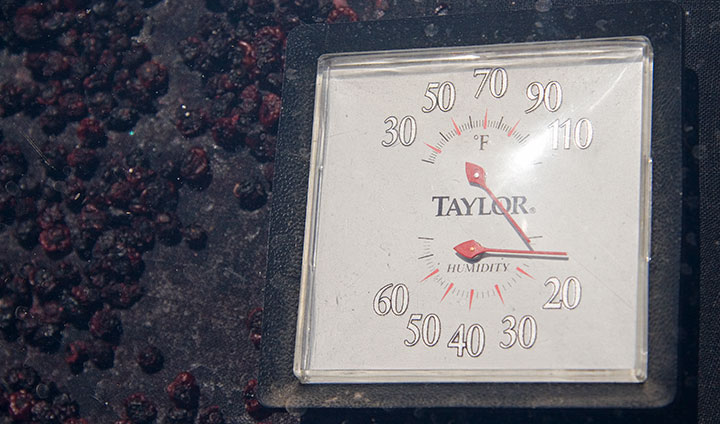
They’re predicting 105 degrees today here in T-town—that’s an all-time, record-breaking high. Now, if you’re in the Midwest, the South, or the Southwest and you’re reading this, you’re probably thinking, “And this is news how?” Well, this is where the part about “all-time” comes in—since white settlement of this area, at least, it has never, ever been this hot before. This place ain’t made for 105°. Almost nobody has air conditioning, but the discomfort is only the half of it. Who knows what this will mean for the snow pack in the mountains, or the water supply?
Beastly or not, though, it seemed a shame to let all this amazing solar energy go to waste. So over the weekend the Tailor devised a passive food dehydrator out of old window panes (buying an electric dryer, to us, seemed to defeat the purpose of home sustainability). Our first attempt at drying berries seemed successful, so at 5:30 this morning,before the heat kicked in, we headed to the Blueberry Park to pick about three gallons more. (The berries are happy with the heat, even if nobody else is!)
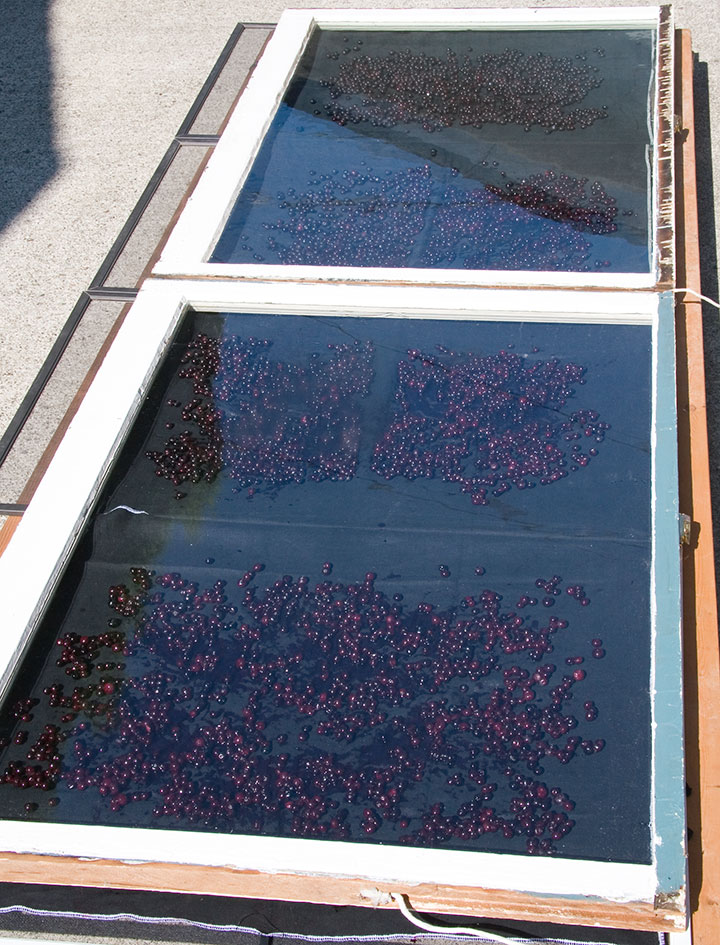
Here’s how it works: four nylon window screens (don’t use aluminum! It reacts with the food) hover over the pavement, propped up on wooden beams to allow for air circulation. Tied to each screen is a black linen cloth to absorb more heat and provide a clean surface for the food, while still letting air pass through. The glass windows fit right on top, providing the perfect space to trap hot air, just like a greenhouse.
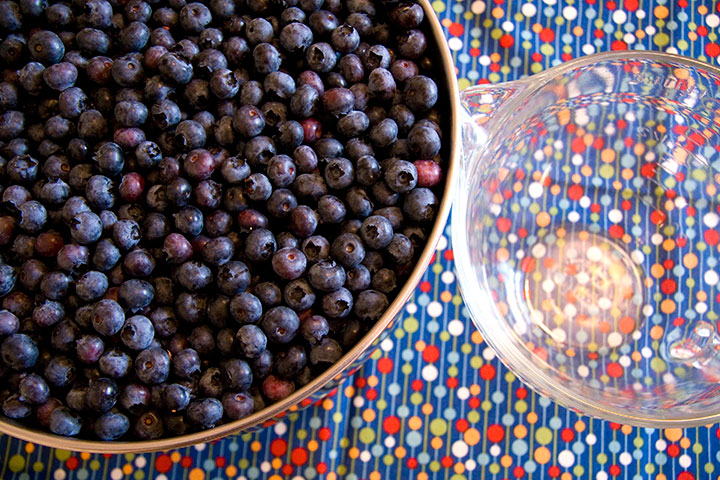
Now, on to the fruit itself. For blueberries, at least, the dried yield ends up being about a quarter of what you started with (so for example, two quarts of fresh berries will become about a pint dried), so it’s best to start with a big batch—another vote for a large, homemade drier over those tiny electric ones. Our drying system will hold five or six quarts of fresh berries.
Wash the berries and remove any stems, petals, grass and unripened fruit (and especially spiders!), and set a large stockpot of water to boil. Place about a quart of berries into a steamer —the berries will dry faster if you split the skins first, and smaller batches seem to be more effective than boiling the whole batch at once.

Once your water is boiling, put the steamer into the pot, and boil for thirty seconds—just long enough for the skins to split. Then remove the steamer and dump the hot berries into a colander in a cold sink (the ice water stops the cooking process).
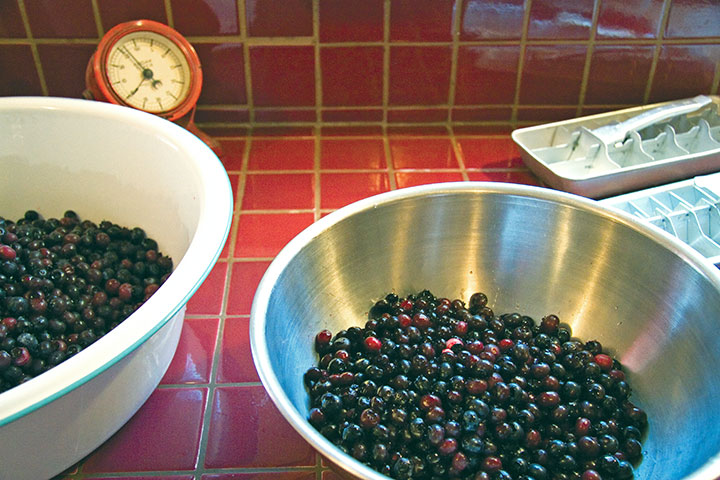
Here’s what the split berries look like; they should feel squishy, and you should be able to see the pale interior flesh on some of them. (Sorry about the photo quality—that red tile just kills the light.)
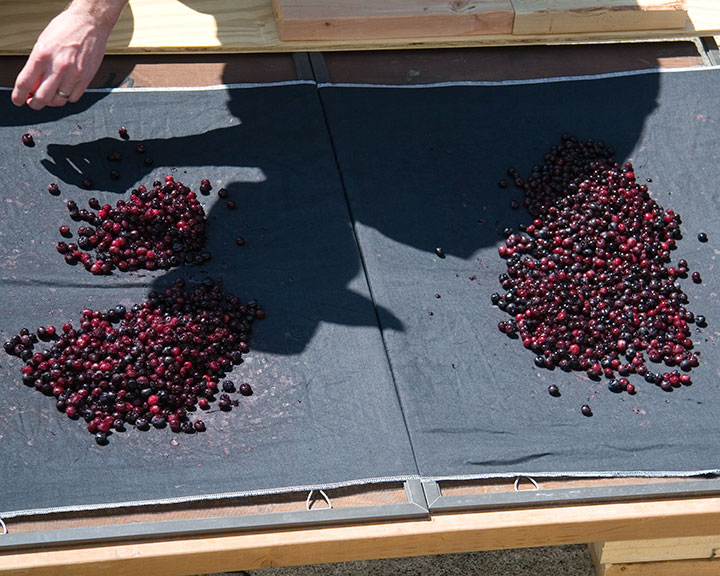
Okay, now you’re ready to take ’em outside. Distribute the berries evenly over the cloth-covered screens,
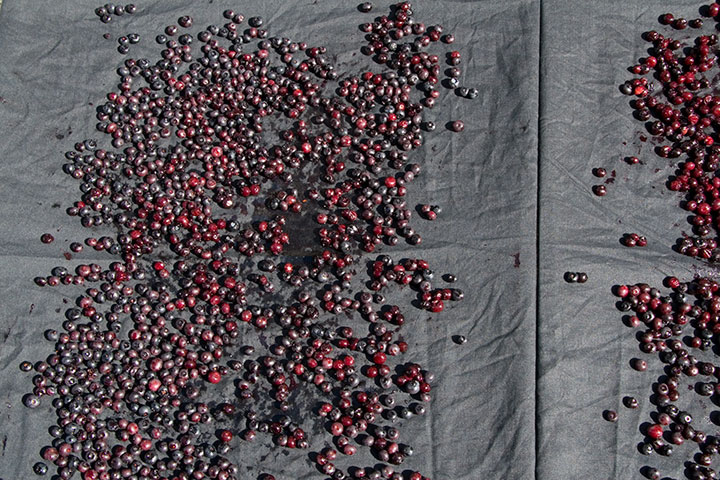
and spread them out until you have a single layer.
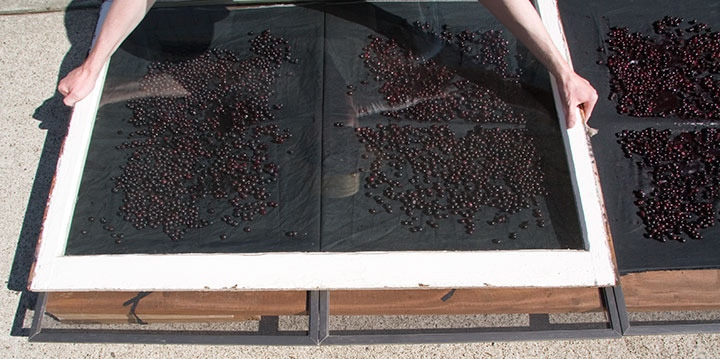
Now, just put the glass back into place, and let the sun do the work. It’s amazing how quickly the humidity inside the glass disappears, and how hot it gets in there. The ideal temperature for drying blueberries is about 140°F, but we’ve already seen our dryer get up to 155°. It doesn’t seem to hurt the final product, but at the hottest part of the day we cover the glass with a sheet for an hour or so, just to cool it down a bit.
About once a day it’s good to redistribute and un-stick the fruit, which helps it dry faster and more evenly. It takes about three full, sunny days to dry the berries completely—unlike raisins, you want blueberries to be so dry they rattle. You should end up with hard little husks that don’t squish and don’t stick together.
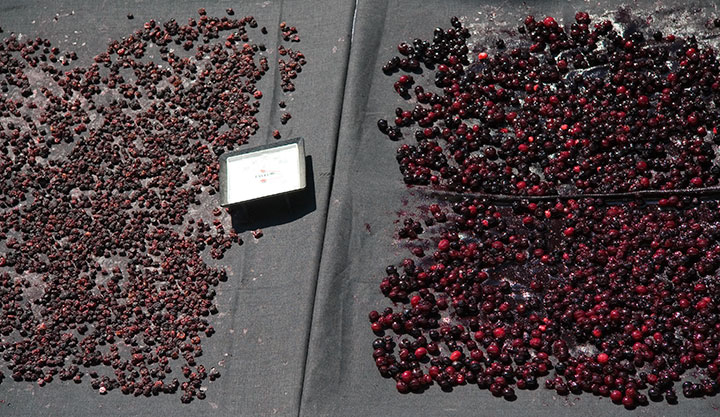
Here you can see the difference between fresh, split berries and ones that are almost done. Once they’re dry, pasteurize them for fifteen minutes in a 175° oven to kill any residual germs, and store in a sealed, air-tight jar.
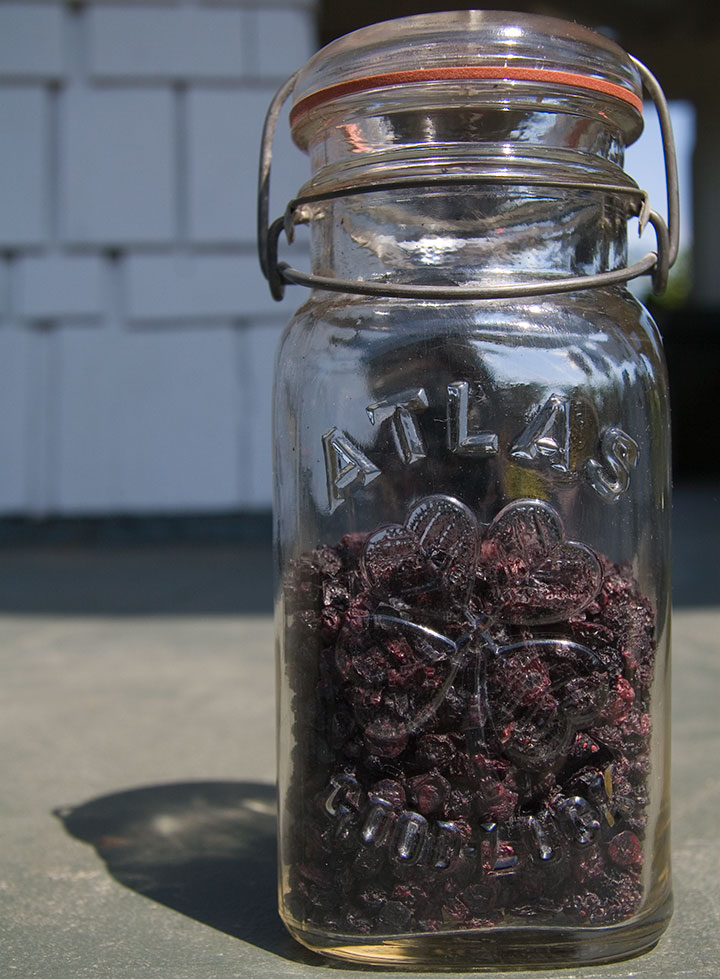
Since we’ll probably use our dried berries for a wide variety of recipes, we left them unsweetened. That way we can reconstitute them for pancakes, sauces and baked goods this winter without any recipe guesswork. They’re still sweet enough to eat plain, too (trail mix, anyone?), although if you prefer your berries pre-sweetened, you can coat them in simple syrup before drying.
Either way, you’ll end up with sunshine in a jar.


![Chandler O'Leary [logo]](https://chandleroleary.com/wp-content/themes/chandleroleary/images/logo.png)


